The smell of fresh yeast rolls in the kitchen is a joy. My grandmother’s dinner rolls were the best part of family gatherings. They were soft and buttery, leaving a lasting taste in my mouth. Now, I’m happy to share a recipe that lets you make these rolls at home.
These old-fashioned yeast rolls are great with any meal. They’re perfect for holidays or weeknight dinners. With simple ingredients and a bit of time, you can make delicious homemade rolls for your family.
Table of Contents
The Perfect Old Fashioned Yeast Rolls Recipe
Enjoy the cozy smell and soft texture of homemade yeast rolls. This classic recipe is loved by many families for generations. It’s easy to make and always turns out delicious.
Traditional Family Recipe Origins
This recipe comes from our ancestors’ kitchens. They loved traditional bread baking. Each batch shows their love and care, blending old traditions with today’s ease.
Why This Recipe Stands Out
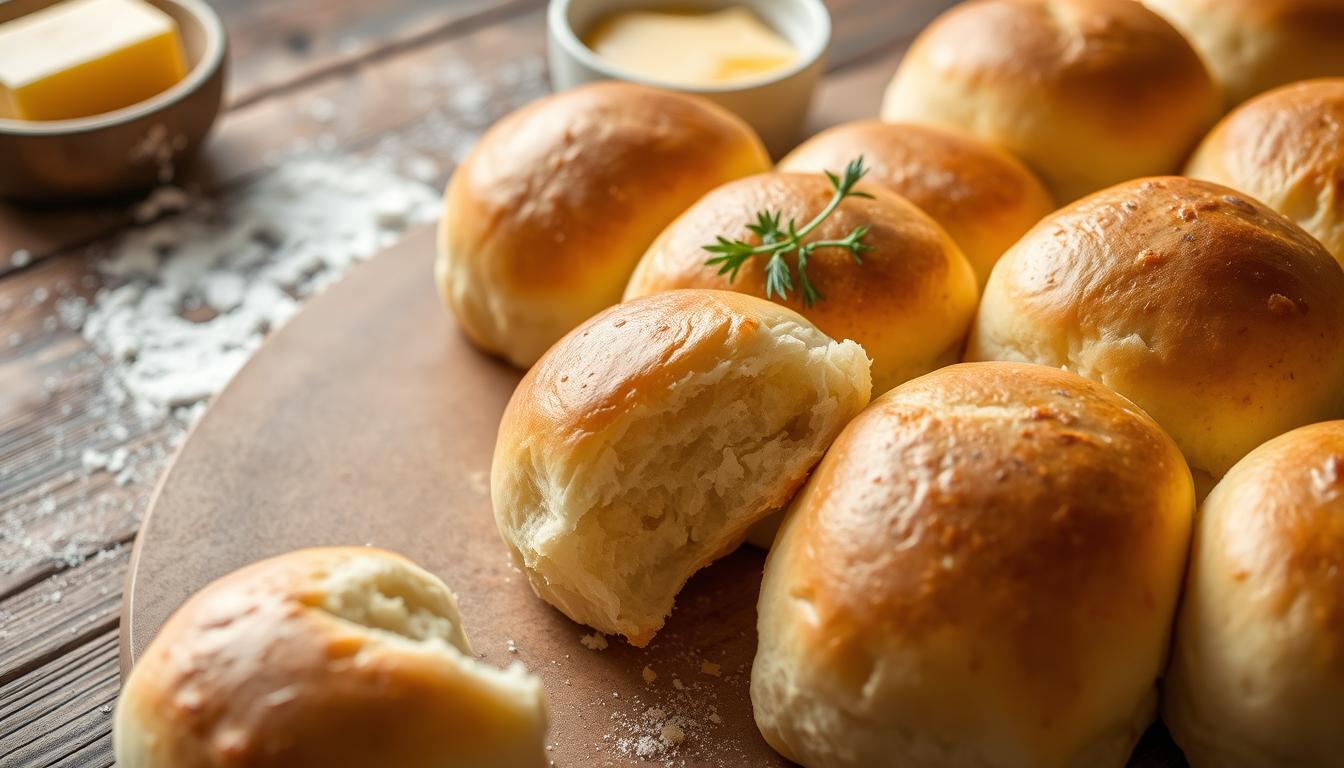
This yeast roll recipe is special because it always works. The dough is sticky but rises well, making the rolls light and fluffy. People love these rolls, calling them “little pillows of warm heaven” and “the very best” they’ve ever made.
Key Recipe Features
- Soft, slightly sticky dough that rises well for a light, airy texture
- Versatile recipe allows for make-ahead options and freezing
- Consistently produces perfect, golden-brown rolls with a delightful flavor
- Yields at least 24-30 big, fluffy dinner rolls or up to 36 smaller rolls
With this recipe, you can make the comforting flavors of traditional bread at home. You’ll be the star of any event with these irresistible homemade rolls. Your guests will ask for the recipe.
“These rolls are little pillows of warm heaven. The very best I’ve ever made!”
Essential Ingredients for Buttery Yeast Rolls
Making delicious buttery yeast rolls or holiday bread recipes needs the right ingredients. You’ll want to mix warm milk, yeast, sugar, butter, eggs, flour, and salt. These ingredients will give your rolls a soft texture and a tasty flavor.
- 2 cups of warm milk to activate the yeast
- 2 tablespoons of instant dry yeast for reliable rise
- 1/4 cup of white granulated sugar to feed the yeast
- 1/3 cup of softened unsalted butter for rich flavor and tenderness
- 2 large eggs to enrich the dough
- 6 1/4 cups of all-purpose or bread flour for structure
- 2 teaspoons of salt to enhance the overall taste
It’s important to warm the milk to 95°F to 105°F for yeast activation. You can use all-purpose or bread flour, adjusting as needed for humidity. Make sure all ingredients are at room temperature for the best results.
| Ingredient | Quantity |
|---|---|
| Milk | 2 cups |
| Instant Dry Yeast | 2 tablespoons |
| Sugar | 1/4 cup |
| Unsalted Butter | 1/3 cup |
| Eggs | 2 large |
| Flour | 6 1/4 cups |
| Salt | 2 teaspoons |
With these ingredients, you’re ready to bake delicious buttery yeast rolls or holiday bread recipes. Your family and guests will love them.
Tools and Equipment Needed
To make homemade yeast rolls, you need some basic baking tools and equipment. Some items are crucial, while others can make things easier. Let’s look at the main tools you’ll need to make sure your yeast rolls are perfect every time.
Must-Have Baking Tools
- A large mixing bowl (at least 4 quarts/4 liters) to hold the rising dough
- Measuring cups and spoons for precise ingredient portions
- A large baking sheet (12×16 inches/30×40 cm) for shaping and baking the rolls
- A clean work surface and a wooden spoon for kneading the dough by hand
Optional Equipment for Easier Preparation
While not essential, these tools can make making yeast rolls easier:
- A stand mixer with dough hooks for easy dough kneading
- A digital kitchen scale for accurate ingredient measurements
- A 9×13-inch pan or 12-inch skillet as an alternative to a baking sheet
Having these baking tools for yeast rolls ready will help you confidently and easily make this homemade recipe.
Mastering the Yeast Dough Process
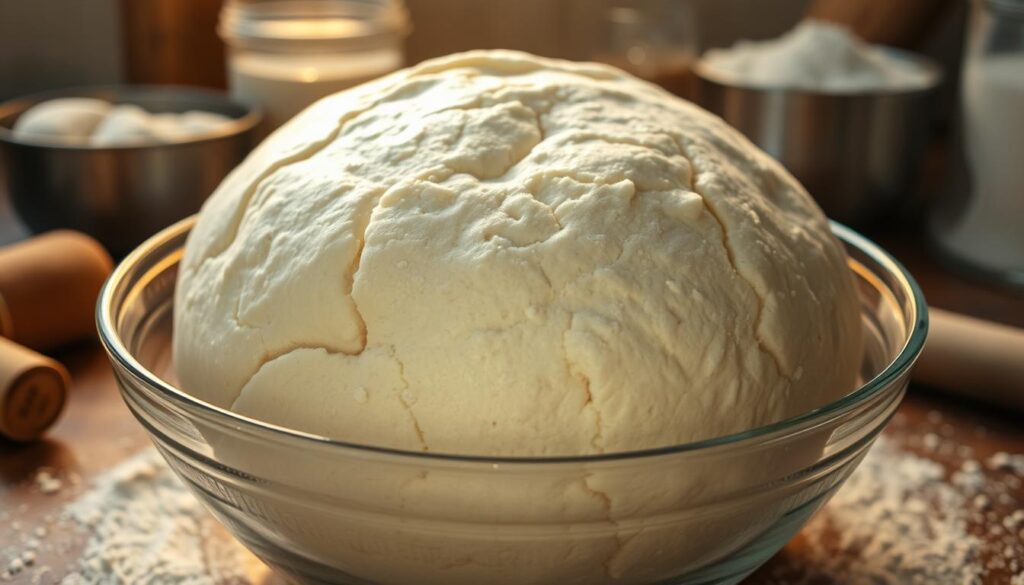
Making perfect yeast rolls starts with the dough. It’s important to activate the yeast right. Mix yeast with lukewarm milk and sugar first. This lets the yeast come to life.
The water should be between 95-105°F. This keeps the yeast alive. Then, mix the wet and dry ingredients together. Knead the dough until it’s soft but not sticky.
Getting the dough right is key. It affects the rolls’ texture and rise. Knowing how yeast works is crucial for yeast dough preparation and bread making techniques.
After mixing and kneading, let the dough rise. Keep it warm for it to double in size. This step makes the rolls light and airy.
| Ingredient | Quantity |
|---|---|
| Organic, All-Purpose Flour | 938g |
| Dry Yeast | 4.5 tsp |
| Kneading Time | 30-60 seconds |
| First Rise Time | 2-4 hours |
| Refrigeration Time | Up to 2 days |
| Baking Temperature | 350°F / 180°C |
| Baking Time | 10-15 minutes |
By following these steps, you’ll make delicious homemade yeast rolls. Understanding yeast dough preparation and bread making techniques is key.
“The secret to the perfect yeast rolls is in the dough. Mastering the yeast dough preparation process is the key to achieving the ultimate in-home bakery experience.”
Step-by-Step Mixing and Kneading Instructions
Learning to knead yeast dough is key to making light, fluffy homemade yeast rolls. You can knead by hand or with a stand mixer. Knowing the right techniques and dough consistency is vital for success.
Hand Kneading Technique
Begin by mixing all ingredients in a big bowl until a shaggy dough forms. Move the dough to a floured surface. Use your heel to push and fold the dough, turning it a quarter turn each time.
Keep kneading for 8 to 10 minutes. The dough should become smooth, elastic, and pull away from the surface.
Stand Mixer Method
If you prefer a stand mixer, attach the dough hook. Mix the ingredients on low speed for 4 to 5 minutes. The dough is ready when it pulls away from the bowl sides, forming a ball.
Proper Dough Consistency Tips
Getting the right dough consistency is essential for perfect yeast rolls. The dough should be soft, slightly sticky, and easy to work with. If it’s too dry, add flour a tablespoon at a time until it’s right.
Avoid over-kneading to prevent tough, dense rolls. By mastering hand kneading or using a stand mixer, your yeast rolls will always have the perfect texture and rise.
Rising and Proofing Guide
Getting your homemade yeast rolls to rise right is key. The classic way is to let the dough rise for 1 hour and 30 minutes. Then, shape the rolls and let them rise again for another 1 hour. This double-rise makes them light and fluffy.
For a faster option, shape the rolls right after mixing. Let them rise in a warm spot, covered with a damp towel, for 8-10 minutes. This quick method still makes delicious rolls, but they might not be as airy.
To help your dough rise well, create a warm, draft-free space. Keep it around 80-85°F. Covering the dough with a damp towel keeps it moist and prevents a skin from forming.
If your dough isn’t rising as you hoped, check a few things:
- Make sure your yeast is fresh and active.
- Check that the water is between 105-115°F, the best temperature for yeast.
- Give the dough enough time to double in size.
Proper rising and proofing are crucial for light, fluffy yeast dough rising and proofing bread dough. With a bit of care, you’ll get amazing homemade rolls every time.

Shaping and Arranging Your Rolls
Now that you’ve mastered the art of crafting the perfect yeast dough, it’s time to shape and arrange your delectable shaping dinner rolls. This step is crucial for achieving the desired texture and appearance of your homemade arranging yeast rolls.
Different Shaping Techniques
There are several ways to shape your yeast rolls, each yielding a unique result. Here are a few options to consider:
- Classic Round Rolls: Divide the dough into 24 equal pieces. Flatten each piece, then fold the edges towards the center and roll into a smooth ball.
- Crescent Rolls: Roll each piece of dough into a long rectangle, then roll up from the short side to create a crescent shape.
- Parker House Rolls: Flatten each piece of dough, fold in half, and place in a greased baking pan.
Pan Arrangement Tips
Once you’ve shaped your rolls, it’s time to arrange them in the baking pan. For perfectly equal sizes, weigh the dough and divide by 24 to ensure each roll is the same weight. When arranging the rolls, leave a slight space between them for a soft, pillowy texture. For a crustier edge, place the rolls farther apart on the baking sheet or in a skillet.
“The secret to perfectly arranged yeast rolls is all in the pan placement. A little bit of spacing can make a big difference in the final texture.”
Remember, the arrangement of your arranging yeast rolls can greatly impact the final outcome, so take the time to carefully place them in the pan for the best results.
Baking Tips for Golden Brown Perfection
Baking yeast rolls to a perfect, golden brown finish is key. It makes your dinner rolls look great and taste amazing. Here are some important baking tips:
- Preheat your oven to 375°F/180°C. This temperature helps the rolls bake evenly and get a beautiful crust.
- Bake the rolls for 12-14 minutes, or until they’re a deep, golden brown. Watch them closely to avoid over-browning.
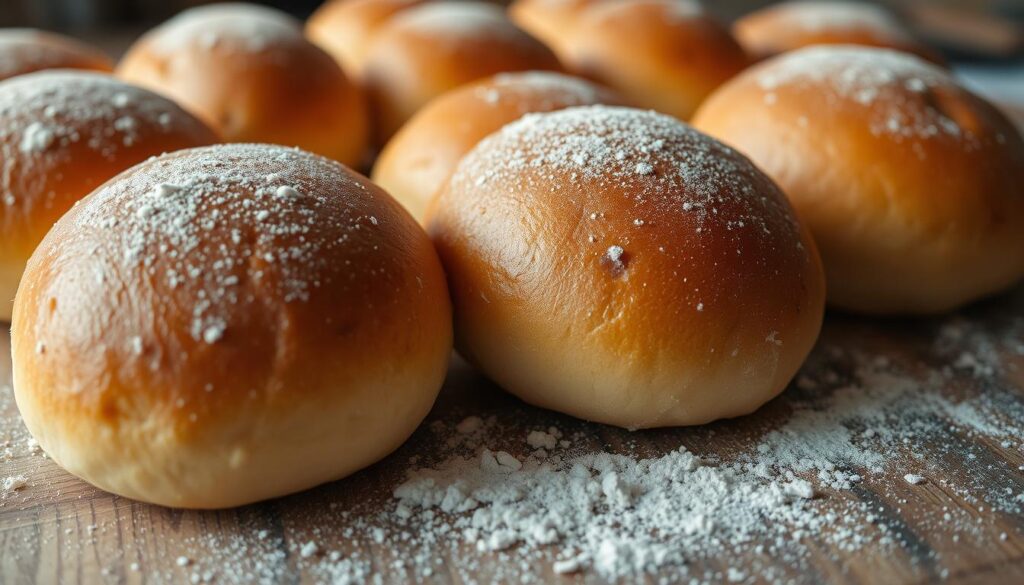
- Right after taking the rolls out of the oven, brush them with melted butter. This makes them soft and shiny.
- For a crispy top, lightly spritz the rolls with water before baking. The moisture helps create a crunchy exterior.
- To check if they’re done, tap the bottom of a roll. If it sounds hollow, the inside is fully baked.
- Rotate the baking pan halfway through baking. This ensures even browning on all sides.
By following these easy tips, you’ll get a batch of golden brown dinner rolls that will wow everyone. Enjoy the yummy smell and the soft texture of your homemade rolls.

Storage and Make-Ahead Options
Your homemade yeast rolls can be stored and enjoyed for days. Once they cool, you can keep them at room temperature for up to 5 days. Or, store them in the fridge for up to 9 days. You can also freeze them for up to 3 months.
For a make-ahead option, shape the rolls and refrigerate them for up to 24 hours before baking. This helps you start your meal prep early. Or, freeze the shaped, unbaked rolls and thaw them when you’re ready to bake. Reheat them in a warm oven or the microwave for a fresh taste.
Whether you store or prepare your yeast rolls ahead of time, cool them well. This keeps them soft, fluffy, and full of flavor. With these tips, you can enjoy freshly baked rolls whenever you want.
FAQ
What makes this old fashioned yeast rolls recipe stand out?
What are the key ingredients in this yeast rolls recipe?
What tools and equipment are needed to make these homemade yeast rolls?
How do I properly knead the yeast dough?
How long should I let the yeast dough rise?
What’s the best way to shape and arrange the yeast rolls?
How can I ensure my yeast rolls turn out perfectly baked?
How can I store and reheat these homemade yeast rolls?
Source Links
- Easy Yeast Rolls – https://feastandfarm.com/easy-yeast-rolls/
- 1-Hour Soft and Buttery Dinner Rolls – https://www.gimmesomeoven.com/1-hour-soft-buttery-dinner-rolls/
- Secrets to the Best Old-Fashioned Soft and Buttery Yeast Rolls – https://heartscontentfarmhouse.com/soft-buttery-yeast-rolls/
- Old Fashioned Yeast Rolls – https://eatdessertsnack.com/old-fashioned-yeast-rolls/
- Old Fashioned Yeast Dinner Rolls Recipe – Makyla Creates – https://makylacreates.com/old-fashioned-yeast-dinner-rolls/
- Homemade Dinner Rolls – https://ohsodelicioso.com/grandma-doxeys-dinner-rolls/
- Quick Yeast Dinner Rolls – https://www.jocooks.com/recipes/quick-yeast-dinner-rolls/
- Soft Old Fashioned Dinner Rolls – https://vintagekitchennotes.com/dinner-rolls/
- Homemade Yeast Rolls from Scratch – https://whereismyspoon.co/how-to-make-dinner-rolls-homemade-rolls-with-yeast/
- Easy Homemade Rolls – https://www.sixsistersstuff.com/recipe/easy-homemade-rolls-recipe/
- Heirloom Recipe: Grandma’s Dinner Rolls {A Good Bread to Make if You’ve Only Made Bread a Few Times Before} | sweetish co – https://www.sweetish.co/blog/grandmas-dinner-rolls-heirloom-recipe
- The Best Sweet Yeast Dinner Rolls With Fresh Milled Flour – https://grainsinsmallplaces.net/sweet-yeast-dinner-rolls/
- 30 Minute Dinner Rolls – https://www.kyleecooks.com/30-minute-dinner-rolls/
- These homemade dinner rolls are easy (and so much better than store-bought!) – https://www.loveandlemons.com/dinner-rolls-recipe/
- Sweet Dinner Rolls from Scratch (Easy Recipe) – https://www.dashofjazz.com/sweet-dinner-rolls/
- Cloverleaf Rolls Recipe: Old Fashioned & Buttery – https://www.restlesschipotle.com/old-fashioned-cloverleaf-rolls/
- The BEST Dinner Rolls Recipe | foodiecrush.com – https://www.foodiecrush.com/dinner-rolls/
- Easy Dinner Rolls – https://www.101cookingfortwo.com/60-minute-yeast-dinner-rolls/
- Soft and Buttery Homemade Dinner Rolls – https://tastesbetterfromscratch.com/best-homemade-rolls/
- The Secret Pantry Ingredient That Makes Parker House Rolls 100 Times Better – https://www.thekitchn.com/parker-house-rolls-recipe-23602372
- Delicious Dinner Rolls Recipe – https://howdoesshe.com/delicious-dinner-rolls/
- The Best Homemade Dinner Rolls Ever! – https://thestayathomechef.com/the-best-homemade-dinner-rolls-ever/
- Big Batch Quick Dinner Rolls – https://www.kingarthurbaking.com/recipes/big-batch-quick-dinner-rolls-recipe
- Old Fashioned Dinner Rolls Recipe – https://www.thebakerchick.com/perfect-parker-house-rolls/
- Cloverleaf Rolls: Quick & Easy Soft Yeast Rolls – https://aseasyasapplepie.com/cloverleaf-dinner-rolls/

